
Creating an environment for video production has never been easier, or cheaper. The cost of equipment required to shoot clear, quality video in a variety of situations dropped dramatically as video distribution channels like YouTube opened the door for many types of video content creators.
Today, it’s possible to mimic the clarity and quality previously only found in studio environments that cost tens of thousands of dollars for a fraction of the equipment cost. For an investment of less than $200, you can create a professional video recording studio at home or in your office with many of the same capabilities used by the big production companies.
While your choice in video and audio equipment is still important, this guide focuses on the actual studio environment. This includes things like the staging that goes on in front of the camera, lighting, green screen (if desired), and sound staging.
Step One: Eliminating the Unnecessary
The first step to building your video production studio is in determining what your necessities are, while forgetting about everything else. Three things matter in video production: what’s in front of the camera, how it looks, and how it sounds.
With this in mind, unless you really need multiple shooting environments (a couch scene, green screen, living room set, etc.) there is no need to dress up the rest of the set.
Everything that appeara in front of the camera should be as simple and minimalistic as possible. A little clutter looks like a huge mess on camera, so if you can keep it simple and avoiding spending the extra money on accessories, do so.
Step Two: Lighting
Perhaps the most important visual component of a video production area is the lighting. Your subject, its background, and any items/props used in the video should be well lit. The goal of lighting is to reduce and/or control shadows, enable the camera to pick up important details about the subject, and direct focus where you want the viewer’s eyes to go.
For small video studio environments, you don’t need a dozen different lights set up on your subject. You can actually get away with very little. Remember, you only need the camera to see a well-lit scene.

Soft boxes are an excellent option for lighting. They offer diffused, even lighting over a large area, and can be set up in a variety of ways. An option such as this three-box lighting kit ($130) from Fancierstudio is perfect for small to mid-size recording spaces.
Each soft box can contain up to four high-output studio CFL lights, and can be positioned in a variety of ways. This set is great if you already have a background in place and want to add lighting to make it work for you. However, there are other options available if you want to use techniques like chromakey (green screen) or to employ a simple black or white background to your videos.

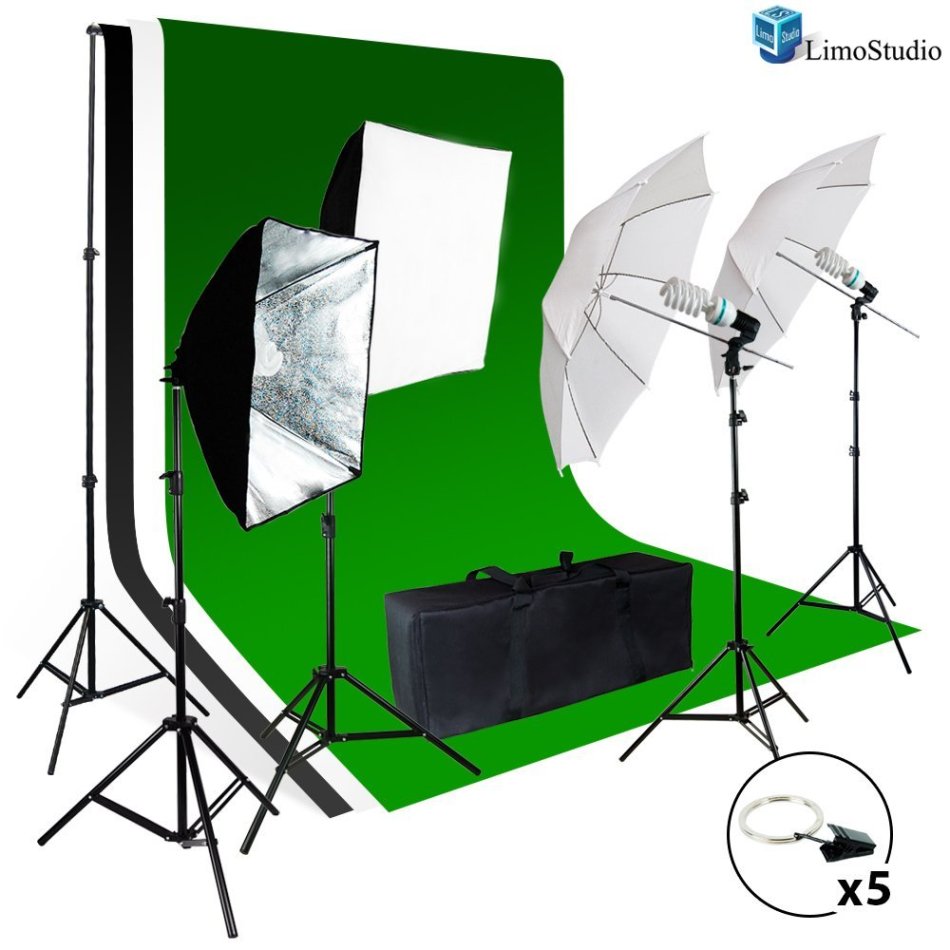
LimoStudio has one such option, which includes lighting very similar to the Fancierstudio kit and three 6’x9′ muslin backdrops in green, white, and black. At $167 it will set you back $37 more than the Fancierstudio kit, with the addition of a background for your videos and a sturdy background stand you can use for other background materials as your production toolkit grows.
Let’s say you want a lighting solution that is as portable as the camera. You might be shooting in an environment where having giant soft boxes is impractical, or one that changes from room to room. This is achievable using a single light mounted on the camera itself, just make sure you choose the correct light.

The FalconEyes DVR-300 ($109) is a brilliant LED light ring that surrounds the camera lens with light, eliminating the appearance of shadows to the camera and providing an even, bright light with a color temperature that you can control. It’s an inexpensive and portable solution, with advantages over top-mounted lights which cast shadows that can be seen on camera.
One disadvantage of this particular lighting solution comes with closeups. You can see the ring’s reflection in someone’s eyes if they are standing too close to the camera.
Whatever your lighting solution, ensuring that the color temperature of all of your lights matches will dramatically help you in post production. Keep in mind that CFL and LED options have different color temperatures, so mixing and matching may not work.
Step Three: Audio
Acoustics are every bit as important to quality video production as the microphone you choose to use. Since we’re building a studio on a budget, we’re left with anywhere from $33 – $91 remaining to spend after choosing one of the lighting options above.
Room echo is your enemy. It’s almost impossible to eliminate it during editing. Big-budget studios use high-end audio foam to absorb sound and reduce the amount of echo on a set. Thankfully, you can achieve a remarkable amount of echo reduction with a relatively small amount of acoustic foam.

Mybecca has a 12-pack of 12″x12″x1″ acoustic foam available for $16.48 on Amazon. This is enough foam to cover 12 square feet of wall space, ideally directly across from where your video subjects are positioned.
If you need more sound proofing, you can pick up twice as much foam for $32.99. You don’t have to cover an entire wall. In fact, if you space the 12×12 squares apart by 12 inches, you can usually achieve exactly the right amount of echo cancellation at half the cost.
Just about any thick, mushy material can absorb sound and reduce echo, so don’t feel inclined to get acoustic foam if you don’t really need it. A thick blanket tacked on the wall will work in a pinch. If you purchased a backdrop as part of your studio configuration, setting it up behind the camera when it’s not on set is another great way to reduce echo without having to hang anything from your wall.
With your lighting, backdrop, and audio under control, you are ready to start shooting professional video in your home studio.

0 comments on “How to Build a Great Video Production Studio for Under $200”